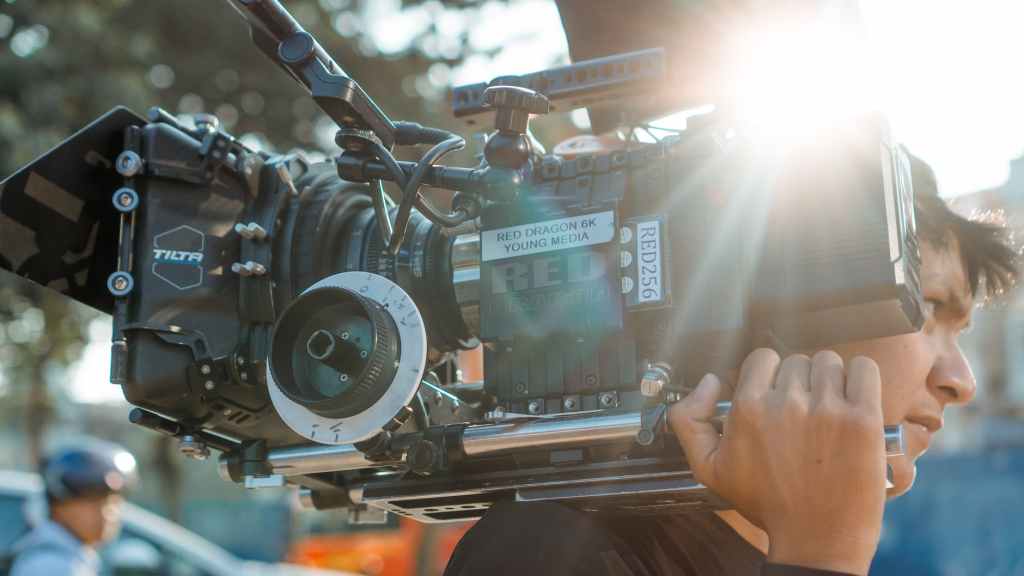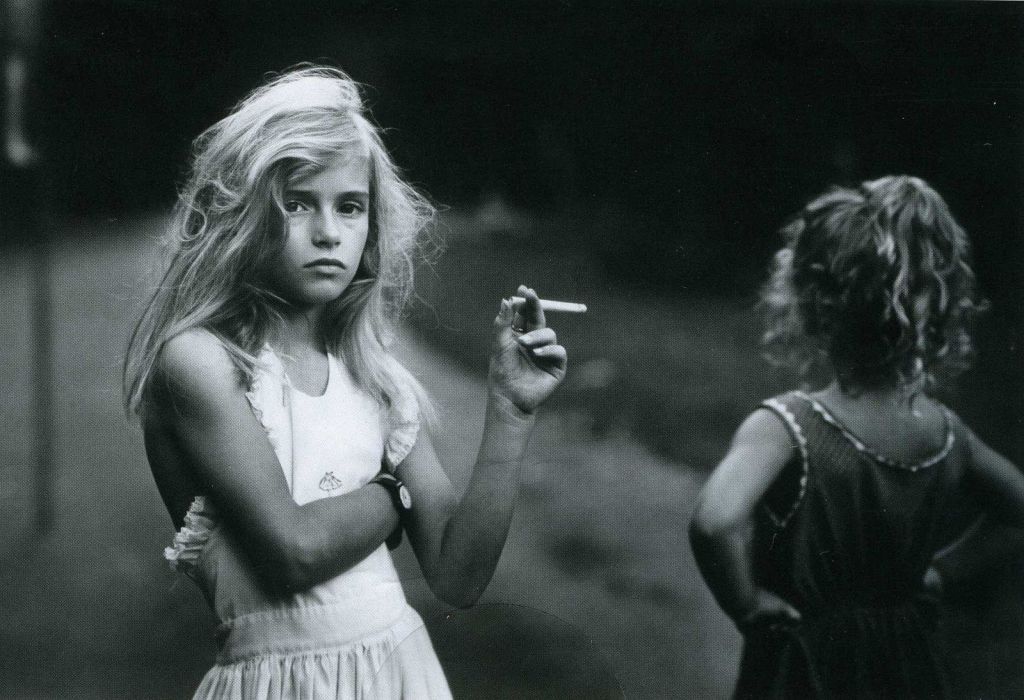

I first started photography with a single minded dedication around 8 years back. I started with a entry level starters kit, a Nikkon D3500. I had just enrolled in a photography course and a DSLR camera was going to be my lens to the world. At that time I knew nothing about photography, using the camera, post production ,and finishing prints.Black and White photography always had a special place in my hear, however the course did not dive much onto the nitty gritties of monochrome photography.
There are plenty of things I wish I had learned sooner than I did, a few things I wish I had done differently, and plenty of thoughts and opinions I had back then that have completely changed. For those of you who are just starting out in the realm of monochrome, I hope that by sharing a few of the tips that I wish I had known sooner in the learning process, it can help accelerate your learning curve to a speed a bit faster than my own.
ESSENTIAL TIPS FOR BETTER BLACK AND WHITE IMAGES
- Shoot in Color and in Raw

Today, the cameras have a lot of creative functions that give you the option to capture your image in black and white at the outset. Doing this may actually result in loss of tonal range. It you shoot in colour and especially in Raw format, you will be capturing the full range of tonality that your camera’s sensor can see. This is a much better starting point than an in~camera mono image. Most cameras can capture photos in two different file types. In short, RAW files are larger than JPEG and take up more space on your hard drive, but they provide you with unparalleled freedom to edit your photo non-destructively, meaning that you can do what you want to it without risking a loss in image quality.
2. Keep your ISO low

The lower the ISO, the less grainy the image will be. If it means using a tripod instead of hand holding in case of slower shutter speed, then that is a good thing. Too often the camera ISO will be left on auto, pushing up ISO speed to make sure there is no camera shake. The downside is that high ISO equals higher noise in your image, which will only be exacerbated by post~production stage.
3. The BEST CONDITION FOR SHOOT

Truth be told, there aren’t necessarily any best condition to shoot black and white. Some mono shooters actually prefer to take their shots on an overcast and generally dark days. The low contrast seem to be a draw for these photographers. Certainly, a grey cloudy sky can be made to look very moody and dramatic, as opposite to a blue sky. A lot of it comes down to your personal preference and mono conversion technique.
4. LIGHTING IN YOUR SCENE

Your image can stand or fall on the quality of light in the scene. It is generally held that midday sunlight knocks details flat and creative process is more limited. For landscape particularly, the first light of the morning or the last light of the evening is much more dramatic and prized. Light glancing across the land picks up details, throws long dramatic shadows and enhances contrasts. You can use this light for mood and dram that is absent when the sun is at its zenith.
5. CONSIDER YOUR SUBJECT

Trying to think in black and white~that is to say, trying to visualise the scene in front of you with all its colours absent ~ is a good skill to try and develop. The question you have to ask your self is that whether the resulting image will improve by being in black and white, or whether colour would be the best option. Not every image will work in black and white. Sometimes the removal of colour can also remove the differentiation between objects that could easily be distinguished were they in colour.
6. COMPOSE YOURSELF

The basic rules that apply to colour photography also apply to black and white. The rule of thirds, golden ratio, leading lines, framing and viewpoints are all well established guidelines that can make even the simplest scene stronger with some care and attention given to the composition of the final shot. Now, having said that, sometimes rules can be broken. If you find your scene not compliant with the rules, but aesthetically pleasing, no harm in going for it.
7. Look for shapes and forms

In black and white particularly, shape and form become very important to the success of the image. Converting to black and white means you can no longer rely on colours in the scene to define or differentiate your subject from the environment. You need to be able to take the shapes, lines and forms available in the shot, and use them as the method by which the image is given an obvious focal point or point of interest.
8. Emerging Patterns

The shift from colour to black and white often revels details that might otherwise have been hidden under the clock of colour. Colourful items in a shot can be distracting, as we’ve already mentioned, sometimes to the point of masking very interesting but perhaps subtle patterns that can only be appreciated once striped off its colour.
9. TEXTURE ADDS INTEREST

Can you imagine how flat and featureless our world would be without texture? Keep in mind when you shoot for black and white. A mono image and texture are inexplicably linked, and part of the overall success of an image depends on the elements that can show the depth, dimensions, and contrast. Textured objects reflect light in interesting ways and draw the viewer’s eye into the scene
10. COLOUR your image

Black and white images do not need to be in just one tone. Consider a duotone image where shades of black and white is replaced by two other colours. Sepia toning is one of the main staples of a black and white image. There is also the cyanotype or the split toning technique. All these results can be very exciting.
11. DODGE AND BURN

Just relying on a simple desaturated image is not exploring the potential of black and white photography. The tonal quality of an image can be enhanced by a few simple adjustments to brightness and contrast. By using dodge (lightening) and burn (darkening) techniques in specific area of your image, can work wonders in improving the overall quality of the image.
12. Consider HDR

‘HDR’ stands for High Dynamic Range. The term originates in photography, and refers to a technique to heighten a picture’s dynamic range – the contrast between the brightest whites and the darkest blacks.Usually two or three stops apart, these LDR’s when fused together, capture more light data in a scene than a single shot. Perfect for scenes with lots of texture that you can bring out in the conversion stage of your workflow.
13. Watch the Skies

Be aware the grey overcast can produce some spectacular moody shots. However, watch out for skies that are one single tone of grey with no cloud formation showing. When converted, this will make for a fairly boring looking sky with no texture or point of interest.
14. Shoot as often and learn

Guess, it all boils down to the fact that you have to be out there and shoot. The more you shoot, the wider the range of subject you experience, and the greater the variety of lighting conditions you encounter. This will all help to train your eye and your brain to “see” that perfect black and white image through a sea of colour. Experiment and have fun.
Social media is the go-to way for most people to get their work out into the world, and for good reason. Platforms like Facebook and Instagram give everyone the ability to get their work in front of thousands of people that would never see it otherwise. However, consistently posting on social media and replying to those interacting with you can be a part-time job in itself, and for most photographers, the benefits are rarely proportional. If you want your photos to be seen in a meaningful way (as opposed to most on the internet who will scroll past it within literally two seconds), network the old fashion way. Join camera clubs, reach out to other photographers, and meet with prospective clients.
15. SEEK INSPIRATION

Take time to familiarise yourself not only with the work of some of the greats of black and white photographers, but also your contemporaries. Flickr, the image sharing website, is a great place to gain inspiration and see what other photographers are doing. Also look at images by yesteryear photographers like Ansel Adams, Man Ray, Richard Avedon , Michael Kenna, Fan Ho and Sally Mann to name a few.
Final Thoughts
Discover through trial and error the great potential of black and white photography. It takes time to develop a knack for seeing through the clutter of colors. I am still learning and by no means even close to perfection and the list is far from a comprehensive, but hopeful it will bring you a little closer in honing your skills as a black and white photographer, and every insight may be able to give budding photographers what they need to continue to progress.
[…] post, I discussed the genera of black and white photography and as I was prepping for my next blog I realised, why not continue the thread and share some of my […]
[…] already made a lot of reference to shape, form and the absence of color in the top black and white photography tips blog. When it comes to abstract images it is even more relevant. Remove colour from an abstract […]
Nice tips
Thanks.
Thanks